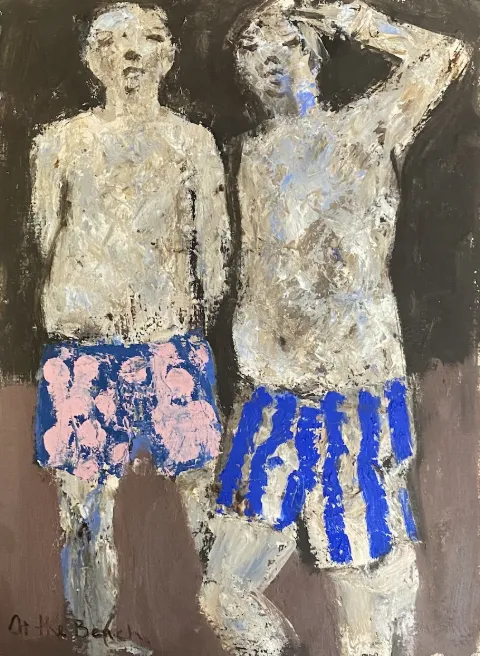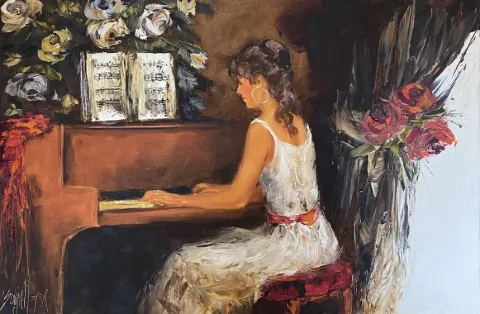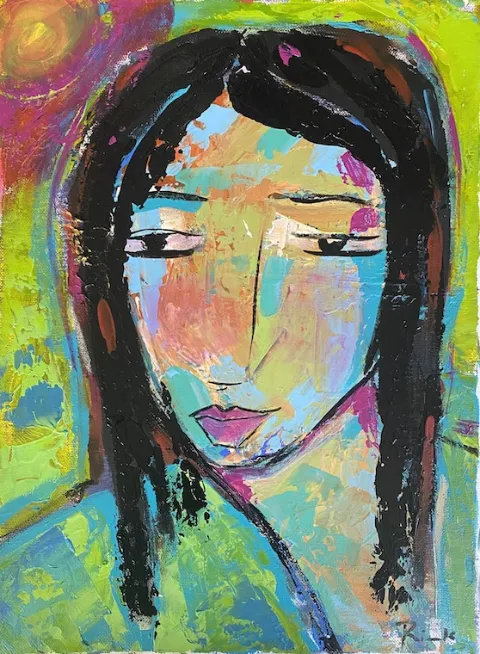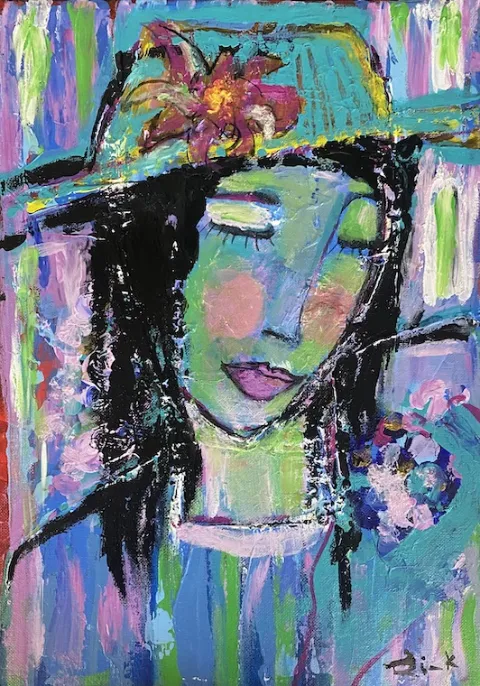

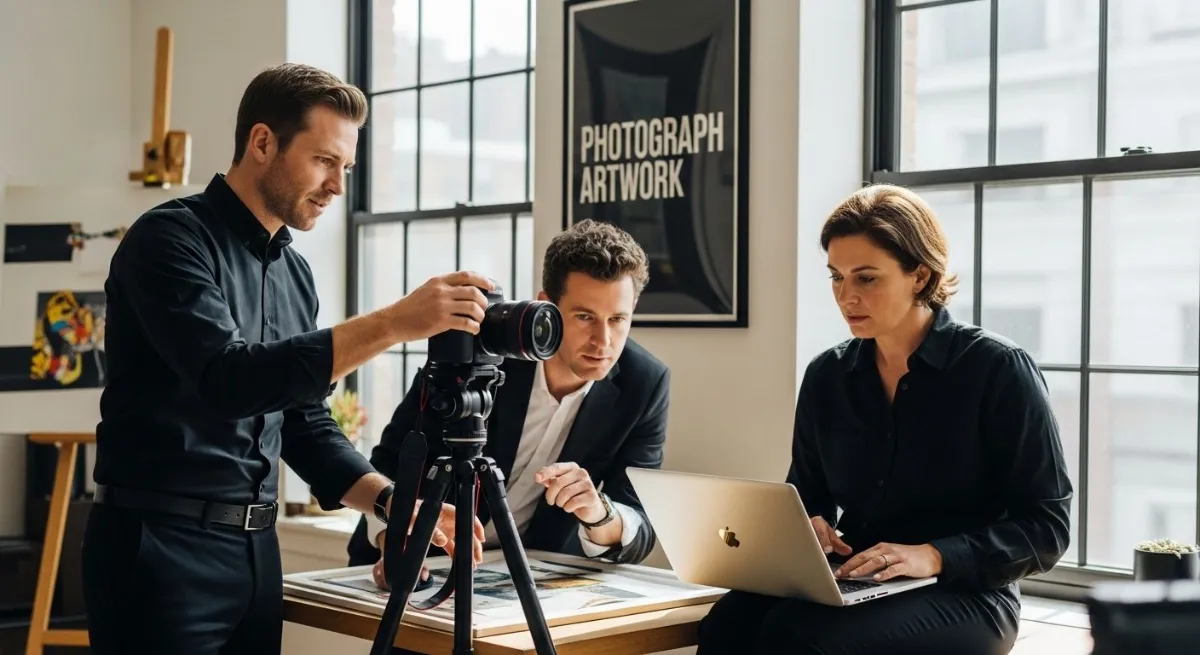
Photographing artwork might seem straightforward and most folks grab their phones without thinking twice. Now look at this. Using a high-resolution DSLR or mirrorless camera can capture details so fine that even textures and brushstrokes show up crisp and clear. But believe it or not, the biggest mistake isn’t about fancy gear. Getting the lighting and angles right matters far more than you’d expect and can make the difference between a dull snapshot and a showpiece that does justice to the original art.
Table of Contents
- Choosing The Right Camera And Setup
- Camera Selection For Artwork Photography
- Lighting And Positioning Techniques
- Technical Camera Settings For Optimal Results
- Lighting Techniques For Accurate Artwork Photos
- Understanding Light Quality And Color Temperature
- Strategic Light Positioning And Diffusion
- Managing Reflective And Textured Surfaces
- Best Practices For Positioning And Framing
- Camera And Artwork Alignment
- Preventing Optical Distortions
- Framing And Composition Techniques
- Editing And Presenting Your Artwork Images
- Color Correction And Calibration
- Non-Destructive Editing Techniques
- Presentation And Digital Formatting
Quick Summary
Takeaway Explanation
Use a DSLR or mirrorless camera High-resolution cameras capture intricate details better than smartphones for artwork photography.
Position lights at 45-degree angles This placement ensures uniform illumination and minimizes shadows in your photographs.
Align the camera perpendicularly to artwork Proper alignment prevents distortion and preserves the true representation of the artwork.
Adjust white balance to match lighting Accurate color representation depends on proper white balance settings according to the light source.
Edit using non-destructive methods Non-destructive techniques allow for flexible adjustments without compromising the original image quality.
Choosing the Right Camera and Setup
Photographing artwork requires precision and the right technical setup to capture the intricate details and true essence of artistic creations. While many art collectors and decorators might assume any camera will suffice, professional image capture demands strategic equipment and technique.
Camera Selection for Artwork Photography
Selecting the appropriate camera is crucial in how to photograph artwork effectively. Professional photographers and art documentation experts recommend using a digital single lens reflex (DSLR) or mirrorless camera with high resolution capabilities. The Columbus College of Art & Design emphasizes that professional cameras provide superior image quality compared to smartphones, enabling crisp reproduction of fine artistic details.
Key camera features to consider include:
To help you select the most suitable camera for artwork photography, the following table compares the recommended camera types, their advantages, and the relevant key features mentioned in the article.
Camera Type Recommended For Key Features
DSLR Professional results High resolution (min. 24MP), full frame sensor, manual settings
Mirrorless Professional results High resolution (min. 24MP), full frame sensor, manual settings
Smartphone Quick casual shots Lower image quality, limited control, less detail
- Resolution: Minimum 24 megapixels for capturing intricate textures
- Sensor Quality: Full frame sensors provide better color accuracy
- Manual Settings: Ability to adjust aperture, shutter speed, and ISO
Lighting and Positioning Techniques
Precise lighting and camera positioning are fundamental in artwork photography. The Art League recommends using natural or controlled lighting with specific techniques to ensure accurate color representation. Professional photographers suggest positioning two lights at 45-degree angles from the artwork to eliminate shadows and create uniform illumination.
Critical positioning guidelines include:
- Camera Alignment: Position the lens parallel to the artwork’s center
- Tripod Stability: Use a sturdy tripod to prevent image blurring
- White Balance: Adjust camera settings to match lighting conditions
Technical Camera Settings for Optimal Results
Columbia College Chicago provides expert insights into technical camera configurations. Achieving professional artwork photographs requires understanding and manipulating specific camera settings. Photographers should focus on creating a neutral, true-to-original representation that captures the artwork’s subtle nuances.
Recommended technical settings include:
For quick reference, this table summarises technical camera settings recommended for optimal artwork photographs and explains the function of each setting.
Setting Recommended Value Purpose/Effect
Aperture f/8 to f/11 Ensures maximum sharpness across the image
ISO 100–400 Minimises digital noise
Shutter Speed Synchronized with lighting Prevents overexposure and motion blur
White Balance Match lighting Ensures accurate colour representation
- Aperture: f/8 to f/11 for maximum sharpness across the image
- ISO: Low settings (100-400) to minimize digital noise
- Shutter Speed: Synchronized with lighting to prevent overexposure
Successful artwork photography combines technical precision with artistic sensitivity. By investing in quality equipment and mastering these techniques, art collectors and decorators can create stunning digital representations that honor the original artistic vision.
Lighting Techniques for Accurate Artwork Photos
Photographing artwork demands meticulous attention to lighting, as the quality and direction of light can dramatically impact the representation of color, texture, and detail. Professional art photographers understand that lighting is not just about illumination but about creating a true visual representation of the original artwork.
Understanding Light Quality and Color Temperature
The Smithsonian Museum Conservation Institute emphasizes the critical importance of consistent light sources when documenting artwork. Color temperature plays a significant role in capturing accurate visual information. Professional photographers recommend using daylight-balanced lamps that provide a neutral white light, typically around 5000-5500 Kelvin, which closely mimics natural daylight.
Key considerations for light quality include:
- Consistency: Use identical light sources to prevent color variations
- Color Temperature: Select lights between 5000-5500 Kelvin
- Color Rendering Index (CRI): Choose lights with CRI above 90 for most accurate color reproduction
Strategic Light Positioning and Diffusion
Precise light placement is fundamental in artwork photography. The goal is to create even illumination that highlights the artwork’s details without creating harsh shadows or reflections. Professional techniques involve positioning two lights at 45-degree angles from the artwork, ensuring uniform coverage and minimizing potential glare.
Advanced lighting strategies include:
- Diffusion Techniques: Use soft boxes or translucent diffusers to soften light
- Angle Control: Position lights to minimize direct reflections
- Light Intensity Balancing: Ensure equal light strength on both sides of the artwork
Managing Reflective and Textured Surfaces
Different artwork materials present unique lighting challenges. Oil paintings, watercolors, and mixed media pieces each require nuanced lighting approaches to capture their distinctive characteristics. Photographers must adapt their techniques to manage reflective surfaces like glossy paintings or textured canvases.
Specialized lighting techniques for various artwork types:
To provide a clear overview, the table below summarises recommended lighting strategies for artwork photography based on the type of surface and the methods highlighted in the article.
Artwork Surface Lighting Challenge Recommended Method
Glossy (e.g., oil) Reflections/glare Use polarising filters, adjust light angles
Textured (e.g., canvas) Enhancing texture Angle lights to highlight depth, use diffusion
Glass-framed Glass glare Position lights to minimise reflections
- Glossy Surfaces: Use polarizing filters to reduce unwanted reflections
- Textured Paintings: Adjust light angles to enhance depth and texture
- Glass-Framed Artwork: Position lights to minimize glass glare
Successful artwork photography transforms technical precision into visual storytelling. By mastering lighting techniques, photographers can create digital representations that respect and reveal the artist’s original vision, capturing not just the image but the essence of the artwork.
Best Practices for Positioning and Framing
Accurate artwork photography requires precision in positioning and framing that goes far beyond simple point-and-shoot techniques. Art collectors and decorators must understand the nuanced approaches that transform a basic photograph into a professional documentation of artistic work.
Camera and Artwork Alignment
The Smithsonian Museum Conservation Institute provides critical guidance on maintaining perfect alignment between camera and artwork. Proper positioning ensures that the photograph represents the original piece without distortion, capturing every detail with mathematical precision. The key is to position the camera lens exactly perpendicular to the artwork’s surface, creating a true-to-original representation.
Essential alignment principles include:
- Perpendicular Placement: Ensure camera lens is directly centered with artwork
- Tripod Stability: Use a robust tripod to maintain consistent positioning
- Level Calibration: Use built-in camera levels or external bubble levels
Preventing Optical Distortions
The University of Nebraska-Lincoln emphasizes the importance of preventing keystoning and perspective distortions. Keystoning occurs when the camera is not perfectly aligned, causing the artwork to appear trapezoid instead of rectangular. Professional photographers use specialized techniques to maintain geometric integrity in their artwork reproductions.
Strategies to minimize distortion include:
- Focal Length Selection: Use medium-range lenses (50-85mm)
- Distance Management: Position camera at an appropriate distance from artwork
- Perspective Correction: Use post-processing tools for minor adjustments
Framing and Composition Techniques
Beyond technical alignment, successful artwork photography requires an artistic approach to framing. The goal is to create a photograph that not only documents the artwork but also respects its visual composition. This means capturing the entire piece with appropriate margins, ensuring no important details are cropped or obscured.
Composition guidelines to consider:
- Full Visibility: Include entire artwork with minimal background
- Margin Consistency: Leave uniform space around artwork edges
- Background Neutrality: Use plain, non-reflective backgrounds
Mastering positioning and framing transforms artwork photography from a technical task to an art form itself. By applying these precise techniques, collectors and decorators can create digital representations that honor the original artistic vision with exceptional accuracy and visual integrity.
Editing and Presenting Your Artwork Images
Digital editing transforms raw artwork photographs into professional representations that capture the essence of the original piece. Art collectors and decorators must approach image editing with precision and respect for the artwork’s intrinsic visual qualities.
Color Correction and Calibration
The Smithsonian Institution provides critical guidance on maintaining color accuracy during digital editing. Professional image editing requires careful calibration to ensure the digital representation matches the original artwork’s true colors and nuanced details. Color correction goes beyond simple adjustments, demanding a sophisticated understanding of color theory and digital imaging techniques.
Key color correction strategies include:
- White Balance Adjustment: Neutralize color temperature variations
- Color Depth Preservation: Maintain original color saturation and intensity
- Histogram Analysis: Use technical tools to evaluate color accuracy
Non-Destructive Editing Techniques
The University of Nevada, Las Vegas emphasizes the importance of non-destructive editing methods that preserve the original image’s integrity. Professional photographers and art documentarians use advanced software techniques that allow comprehensive adjustments without permanently altering the original digital file.
Non-destructive editing principles include:
- Layer-Based Editing: Apply corrections using separate adjustment layers
- RAW File Processing: Utilize uncompressed image formats for maximum flexibility
- Metadata Preservation: Maintain original image information and capture details
Presentation and Digital Formatting
Successful artwork photography extends beyond technical perfection to strategic digital presentation. Art collectors and decorators must consider how images will be used across different platforms, from online galleries to print publications. This requires careful attention to resolution, file format, and overall visual consistency.
Presentation considerations include:
- Resolution Standards: Select appropriate pixel dimensions for different uses
- File Format Selection: Choose between JPEG, TIFF, and PNG based on intended application
- Compression Management: Balance file size with image quality
Mastering digital editing transforms technical photographs into powerful visual narratives. By applying these sophisticated techniques, art professionals can create digital representations that honor the original artwork’s artistic vision while meeting the highest standards of professional documentation and presentation.
Frequently Asked Questions
How do I select the right camera for photographing artwork?
Choosing the right camera involves selecting a DSLR or mirrorless camera with at least 24 megapixels, a full frame sensor, and the ability to adjust manual settings for optimal image quality.
What lighting techniques should I use when photographing artwork?
Use two lights positioned at 45-degree angles from the artwork to achieve even illumination, reduce shadows, and avoid glare. Ensure your lights are daylight-balanced, ideally between 5000-5500 Kelvin.
How can I prevent distortion when photographing my artwork?
To prevent distortion, position the camera lens directly perpendicular to the artwork and use a sturdy tripod for stability. This alignment minimizes keystoning and maintains the geometric integrity of the piece.
What editing techniques should I use to enhance my artwork photographs?
Apply non-destructive editing techniques such as using adjustment layers and processing RAW files to ensure you can make changes without altering the original image. Focus on color correction and calibration to accurately represent the artwork.
Ready to Capture and Share Your Art Like a Pro?
You have just read how lighting, alignment, and professional camera settings can make all the difference for true-to-life artwork photography. Yet after all that effort, are you still unsure where to showcase your perfectly captured images to a dedicated audience that truly appreciates art? Many collectors and decorators struggle to promote their stunning pieces or reach art lovers who crave authenticity and quality.
Experience the proof that your photographs can open doors. Join South Africa’s largest online art community and put your best work in front of thousands of art enthusiasts. Present your collection or sell directly to buyers on Art Online and discover how high quality images and professional presentation can transform both your passion and your reach. Act now to give your art the audience it deserves. Get started with Art Online today.
Recommended
- Top Art Festivals in South Africa 2025 for Collectors & Decorators – Art-Online
- Famous African Art Pieces for Collectors and Decorators 2025 – Art-Online
- Famous South African Artists: 2025 Guide for Collectors & Decorators – Art-Online
- Top Art Competitions in South Africa 2025 for Collectors – Art-Online